[vc_row][vc_column][vc_column_text]
For the past 6 years, I have been implementing these techniques of specific breathing and movement patterns (along with many more techniques not listed here) into my own personal training, and I can say hands-down, I feel more human than ever. Before this period of “unconventional fitness”, I was your average guy in the gym, picking up big weights 5-6 days a week, sleeping an average of 5-7 hours, elevated stress levels and with joint pain similar to a competitive bodybuilder. As someone who was studying Exercise Science while also fascinated with a holistic health, it was evident that my training was not optimizing my mind and body for inside and outside the gym.
It was apparent; after just one training session under these principles of movement quality and decompression, my body had felt this shift. For the first time, I started workouts feeling physically primed for my big lifts, without suffering any joint pain that would have kept me from finishing my session a couple sets early. I left a training session feeling mentally and physically better than I did before my session; you could say that my training sessions potentiated me for the rest of my day. Up until that point, my training goals were centered on increasing my overall levels of strength, without any consideration to how the longevity of my physical and mental health played into the equation. Rather than associating strength training adaptations with being stiff and immobile, these techniques allowed me to continue to build my overall strength levels without having to suffer any tendonitis or other soft-tissue injuries that would come with high volume and load.
As you read through the rest of this article, keep in mind that many of the effects of these movement practices are based off of my own personal results and feedback from my clients I’ve served over the past 3 years while working at Onnit Gym HQ. I can say wholeheartedly that with every athlete (General Population & Professional) I’ve worked with, whether it was Lance Armstrong, Vince Young or Grandma Betty with a total hip replacement, not one client has left feeling worse than before our time together. As with anything, it’s easy to observe and judge, so I challenge you to read, reflect and then feel for yourself these practices geared towards optimizing your mind and body!
5 Ways to Optimize
I have the luxury of working at one of the best gyms in the world, with some of the most athletic and hard-working athletes I’ve ever encountered. Being someone who loves to observe, it became very apparent that not too many people (like myself) took pride in spending sufficient time before, during, or after their workouts to either prime or decompress their body. Rather, I still see the OG warm-up of jumping on a bike or treadmill of 5-10 minutes, bending forward to touch their toes 3-4 times, some running high knees, and then jump right into their first working set. Being the Senior Durability Coach at the Onnit Gym HQ, I began to receive a lot of questions and complaints about tight lower backs, stiff knees, and chronic shoulder pains.
It was pretty obvious that not only were people lacking a sufficient warm-up and movement preparation session before their workouts, but they also were not considering the 25 minutes spent during their workout where they would sit down on a bench to rest in between sets. Not to mention, maybe 2 percent of clients would actually take time after their workout to not only decompress their physical body but also take the time to switch over from their Sympathetic to Parasympathetic Nervous System. If any of this article so far sounds very familiar to you, then take these 5 steps to help optimize your time in the gym, to ultimately optimize your body for the real world.
Step 1: Spine Warm-Up
In general, people have a misconception about what a good warm-up should look like. I’m sure many of us understand that we should attempt to increase body temperature and increase blood flow to our working muscles, but looking a little deeper, this portion should be a time for you to body map. This idea of body mapping allows you to connect with your physical body a little deeper than just sweating before a workout. When you body map, you try to pinpoint what is feeling tight, what is feeling mobile, and ultimately allows you to make the decision of “is a heavy squat day smart for me today?”
This is also an integral time to begin speaking to your Central Nervous System. The brain and spinal cord should be considered as the central hub of our body, as all communication of feeling (sensory) and movement (motor) is mediated by these two. It integrates all the muscles and tendons and ligaments in the periphery of our body with the almighty brain and spinal cord. To keep it very simple, without the appropriate stimulation and activation of our brain and spinal cord, we cannot expect for movements in our periphery to be optimal.
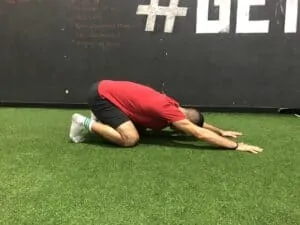
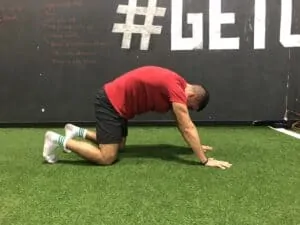
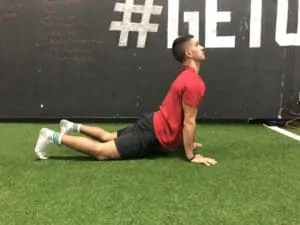
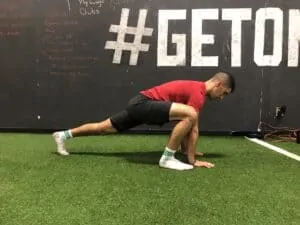
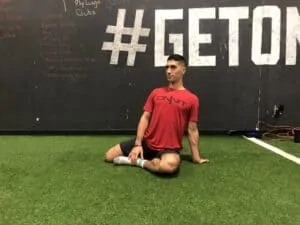
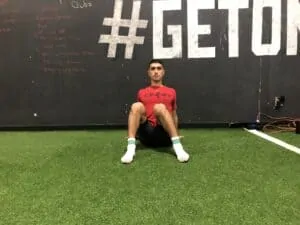
Kneeling Spine Wave
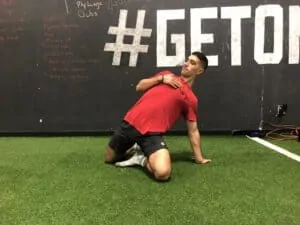
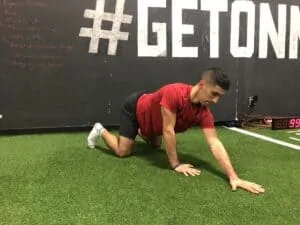
Modified Floor Scorpion
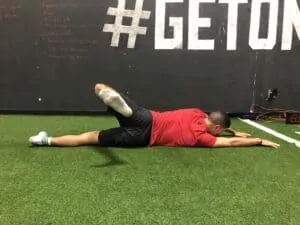
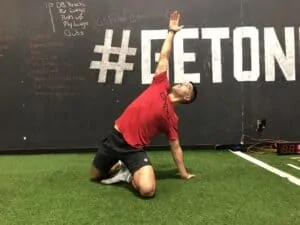
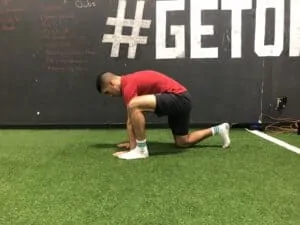
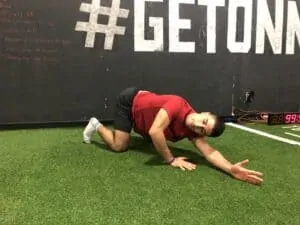
Twisting Mountain Climber


Step 2: Movement Preparation
The spinal warm-up is great for waking up a dormant and down-regulated nervous system when first entering into the gym. It facilitates for a higher functioning Central Nervous System and one that allows for communication between muscle fibers and the motor cortex to be optimal before a big workout. Once the governing portion of our nervous system has been accounted for, it’s important that we then get more specific with our warm-up.
The movement prep section is intended to ensure that we are not wasting any valuable energy on the treadmill or jump rope before a big workout, but rather spending that energy towards the joints and soft tissue will be called upon during our big lifts. The prep section is also here to ensure that the appropriate muscles and joints are firing as they should, stabilizing in the appropriate areas and being mobile enough to ensure that your body is ready for set #1.
For example, during a deadlift, it’s important that we are stable from a frontal plane perspective, ensuring that everything on the lateral portion of our body (peroneals, tibialis anterior, IT band, Glute. Max, TFL, Internal/External Obliques) are active and ready to stabilize our body as we attempt to pull from the ground. From a frontline perspective, it’s important to understand that many of us are “anterior dominate” meaning that tissues situated in the front portion of our body (TFL, Quads, Psoas, Rectus Abdominis, Pecs,) are normally overused, stiff, and stuck in a chronic, shortened position. While in being in this shortened position, I’ve noticed that for myself and my clients, attempting a posterior dominant exercise like the deadlift is almost impossible to actually get the hamstrings to work. So before we begin to try and activate the hamstrings, its vital that we mobilize/activate the front portion of our body, in a lengthened position to allow for the posterior chain to be in an optimal position to be stimulated.
To finish the example of the deadlift prep, we have accounted for the stabilizing lateral line when pulling from the ground, lengthening tissues that are normally shortened and chronically tight, ultimately to end up prepping our posterior tissues for the deadlift. Understanding that most people come in with a shortened and tight front line, the tissues in the back portion of our body will normally be lengthened to an angle where they are not suitable and comfortable activating. Since we have now allowed the back line to be in its appropriate resting position, we look to activate the hamstrings and glutes (which is a shortening and lengthening activity) to maximize our deadlift. Keep in mind that this can be done standing with a simple hinge pattern, but in order to give our body more feedback and sensory information to ultimately produce better movement patterns, we use the ground.
The following three movements are a prime example of what the movement prep scheme would look like in prepping for a big deadlift day:
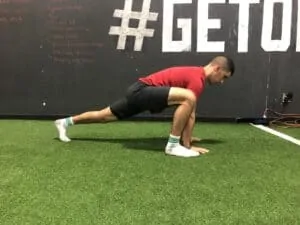
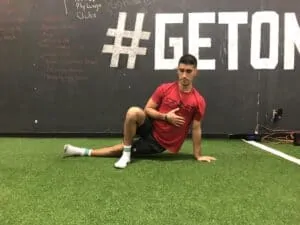
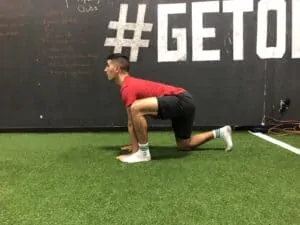
Half Kneeling Hip Drive:


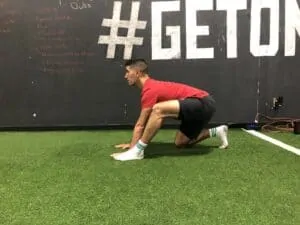
Shinbox Tripod Extension


Half Kneeling Ham Bow


Step 3: Intraset Active Recovery
Remember to ask yourself, are you an elite level powerlifter who relies on the sport to make a living, or someone who enjoys to lift heavy shit but still needs your body outside the gym to survive and thrive. So although performing a shin box extension in between my heavy squats may not expend too much energy for someone like myself, it could be a lot more taxing to the nervous system for someone just starting this process. Also, an athlete who will be relying on a stiffer quality of tissue before their proceeding exercise bout (heavier training intensity) would not benefit in a more pliable, gliding set of tissue if they are still new to training and novel with body awareness and proprioception. The stiffness of the tissues surrounding the targeted area would want to be in a state of tightness, to better facilitate security of the spine and promote success during the lift.
The big question is to ask yourself, are you doing this as a means to an end or is working out a hobby for you and something you really enjoy to do. For 95% of us, we fall into the line of working out as a hobby, so it is vital for us to consider promoting longevity techniques whenever we can. This is my absolute favorite, it’s low hanging fruit. In between that 2-5 minutes you take for rest, get onto the ground, move slow, and become conscious of how your breathing.
With your breath, simply try and slow your exhales out through your mouth, slowing your heart rate down as you move. When you realize your breath rate drops, go straight into nasal breathing. This will keep up your body running at a lower intensity, before ramping up your nervous system during your main lift. As far as the movements go, I’ve selected these movements around the idea of respecting the affected tissues during a main exercise bout like the squat, deadlift and benchpress as well as assisting to potentiate before your next set.
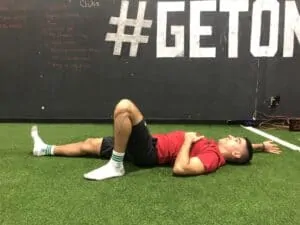
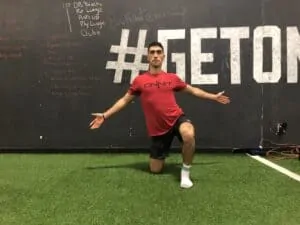
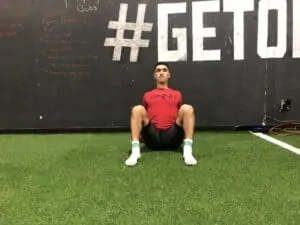
Modified Shinbox
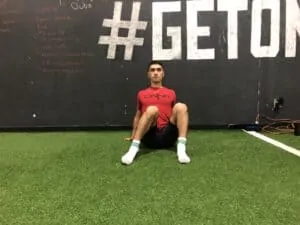


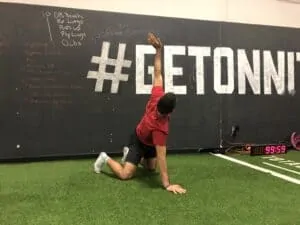
T-Spine Rotations


Overhead Arm Circles


Step 4: Post Workout Decompression
I’m sure that many people have been told that it is vital to stretch after a workout. Whether it was after a high-school basketball practice, or after your 10 mile bike ride, I’m sure someone told you that you would feel less sore the following day if you take that extra 5-10 minutes after your workout to stretch. Anecdotally speaking, I would agree with the fact that taking time after an exercise bout to decompress does leave my body feeling way better than if I don’t stretch post-workout.
Although, in this section I do not want to talk about post-workout stretching and its effects on DOMS. Rather, I want to shed some light on the fact that intentional movement post workout does help to increase the longevity and resilience of your tissues and nervous system.
From a tissue perspective, workouts are intended to stress a set of specific tissues dependent upon our goals that day. For example, during the bench press, we are intentionally breaking down muscle tissue in order for it to grow back in a stronger and more dense state. This stress of the anterior upper body does come with a price with respect to the actual joint capsules, and over time if we do not decompress our joints after compression based exercises, our joints will deteriorate compromise range of motion.
From a Central Nervous System perspective, it is important that we allow our heart rate to drop before we leave the gym. Keeping our heart rate elevated for hours on hours after our exercise bout is not advantageous to the longevity of our body and ultimately the gains we seek to achieve! I don’t want to speak to the interplay of our Autonomic Nervous System (ANS) too much in this section because the next section will go into more detail. Just keep in mind that as we are moving through this post workout decompression, use your nose to breathe in for 2 seconds, exhale through your nose for 4 seconds, and then hold your breath for 2 seconds. The idea is to be able to slow your exhales and use your nose as much as you can as you move.
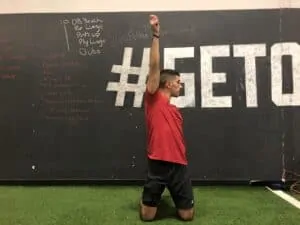
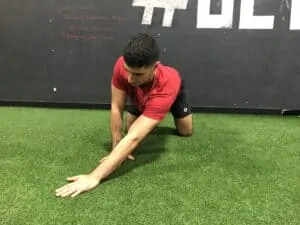
So, the first item we prioritize in our warmup is the waking up and activation of our spine and all the tissues surrounding it. Although there are many more movements I would recommend and use on a daily basis, the following three movements are the most impactful and easiest to implement as part of our spinal activation. Don’t worry, if you are interested in learning about the more comprehensive warm-up, I have online resources available for your education and immediate application into your workouts. I’ll conclude with that information.
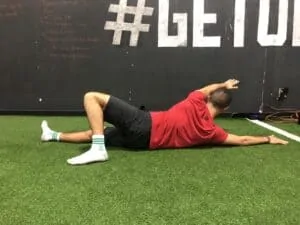
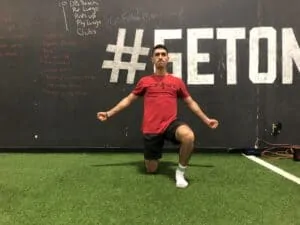
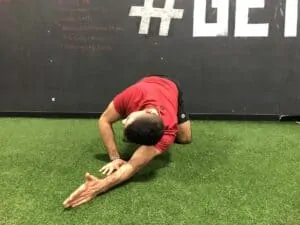
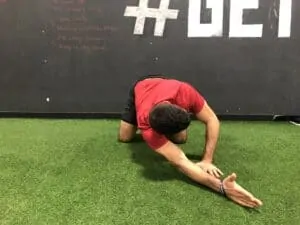
Hamstring Bow
Hip Bridge
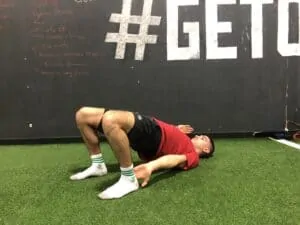


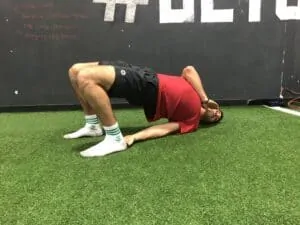

Angled Lat Stretch


Step 5: Diaphragm Breathing
After you’ve taken care of your physical body post workout, it is important to bring your whole nervous system down from Sympathetic and shift into Parasympathetic. Sympathetic, being the fight or flight portion of your AND, allows for hormones like cortisol and adrenaline to be released into the blood stream to constrict blood vessels, therefore increasing heart rate and blood pressure. Although this is what we want during a workout, it’s imperative that as soon as we get done with our workout, that we do not leave the gym with our heart rate elevated and mind still running at a million miles per hour. This type of overdrive is the same reason why many people have a weak immune system, trouble sleeping at night, decreased appetite, fluctuating weight, and in extreme cases, adrenal fatigue.
Rather, it is advantageous for us to switch from SNS to our PNS, to allow for the recovery process to begin. One of the best ways for us to switch into our PNS, is by utilizing diaphragm breathing. Very similar to the technique used above in “post-workout decompression”, the idea here is to become mindful of our breath and try to make that breath calm, and quiet as possible. You will follow the outline below. Keep in mind, quiet, gentle breathing, ONLY thru your nose, and trying to take advantage of your belly filling up with your breath before your chest rises.
Inhale: 3 Seconds.
Hold Breathe: 2 Seconds
Exhale: 4-6 Seconds.
Hold Breathe: 2 Seconds.
Repeat 8-10 times.
I understand that a lot of this information may be novel to many of us. You may feel like you want to start implementing all of this information right away. I do not believe in implementing new techniques that cause you more stress and confusion than without them, so maybe begin to pick a couple of these techniques and start trying them out for yourself. I would highly recommend starting with the low hanging fruit of post-workout breathing and then adding decompression movements after.
Also, I understand that pictures are not the best for displaying the dynamic movements in this article. Another great resource is my social media pages like Instagram (@cristian_g_plascencia) and Facebook (@Cristian Plascencia) where you can get a better feel of how these techniques are implemented on a day to day basis, whether it be for my own personal training or for my clients.
[/vc_column_text][/vc_column][/vc_row]
